Spring Cloud Config 构建client端
构建config client
首先在父模块下,创建一个名称为config-client,pom.xml文件配置如下:
<dependencies>
    <dependency>
        <groupId>org.springframework.boot</groupId>
        <artifactId>spring-boot-starter-web</artifactId>
    </dependency>
    <!-- spring cloud config 客户端包 -->
    <dependency>
        <groupId>org.springframework.cloud</groupId>
        <artifactId>spring-cloud-starter-config</artifactId>
        <version>2.0.4.RELEASE</version>
    </dependency>
</dependencies>
创建bootstrap.yml 文件,配置如下:
server:
  port: 8881

spring:
  application:
    name: config-client
  cloud:
    config:
      uri: http://localhost:8888/
      label: master
      profile: dev
- spring.cloud.config.label #指明远程仓库的分支
- spring.cloud.config.profile #项目环境标识
- dev开发环境配置文件
- test测试环境
- pro正式环境
- spring.cloud.config.uri= http://localhost:8888/ #指明配置服务中心的网址。
程序的入口类,写一个API接口“/hello”,返回从配置中心读取的user.name变量的值,代码如下:
@RestController
@SpringBootApplication
public class Application {
public static void main(String[] args) {
	SpringApplication.run(Application.class, args);
}

    @Value("${user.name}")
    String name;

    @RequestMapping(value = "/hello")
    public String hi(){
        return "hello," + name;
    }
}
分别启动config-server和config-client服务,在浏览器中访问http://localhost:8881/hello如下:
hello,zhangsan
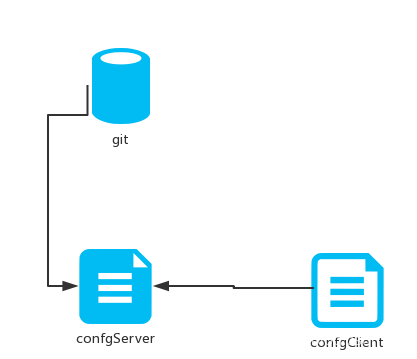
这就说明,config-client从config-server获取了user.name的属性,而config-server是从git仓库读取的,如图:

标签: SpringCloud


